This article is compatible with the latest version of Silverlight.
With the addition of the much anticipated Printing API, Silverlight continues to round out its feature set. Although beta, it’s very flexible enabling you to print what you see on screen, selected portions of the UI, custom “print-friendly” views, and multiple page printing.
This post takes a deep dive into the Printing API, starting out with a simple scenario and moving to the more complex.
Print what you see
To get up and running quickly, create a simple UI. The below figure shows a sample contact screen with text fields, an image, and a print Button.
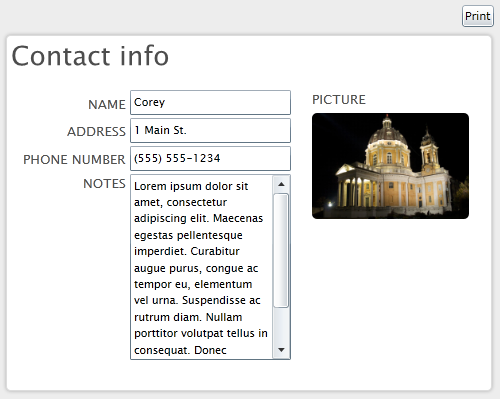
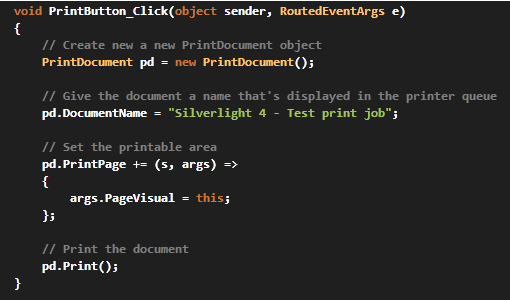
Printing the UI, exactly as it appears on screen, add a Click event handler to handle the printing of the document. PrintDocment is the engine of printing. The below block of code shows a simple print job. The items of note are:
- Create a new PrintDocument
- Give the print job a name using DocumentName. This name is displayed in the print queue and is optional.
- Implement the PrintPage event handler. Set PageVisual to the UIElement you want to print. In this case it is the whole UserControl.
- Finally call Print() to open the Print Dialog box.
C# in text format
void PrintButton_Click(object sender, RoutedEventArgs e)
{
// Create new a new PrintDocument object
PrintDocument pd = new PrintDocument();
// Give the document a name that's displayed in the printer queue
pd.DocumentName = "Silverlight 4 - Test print job";
// Set the printable area
pd.PrintPage += (s, args) =>
{
args.PageVisual = this;
};
// Print the document
pd.Print();
}
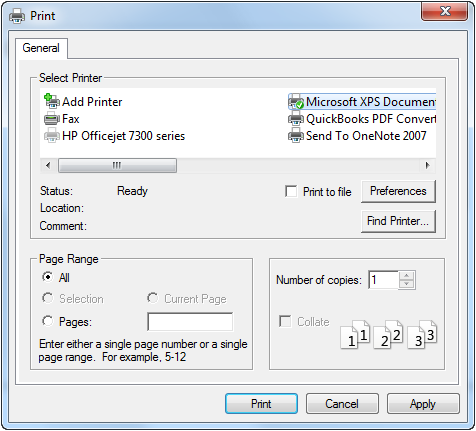
When the Print() method is called the user is prompted with the familiar print dialog box, shown below. Clicking Print fires the StartPrint event then for each page that needs to print PrintPage event is fired.
The PrintDocument
So far, DocumentName, PrintPage, and Print() have been used from the PrintDocument. What else is there? As always, you can take a look at the MSDN page for the complete list of members, however here are the main methods and events that you need to know about:
- DocumentName – Property defining the name of the print job.
- Print() – Prints the document
- PrintPage – Event fired before the printing of each page. If you print multiple pages then this event fires for each page.
- EndPrint – Event fired when the printing is either completed or cancelled.
- StartPrint – Event fired after the user clicks Print on the print dialog box but before the PrintPage
- HasMorePages – Part of the PrintPageEventArgs, the arguments passed into PrintPage, informing whether or not there are more pages to print.
Custom "print-friendly" page
Reporting is a natural scenario where printing is crucial. I remember when programming in ASP.NET and spending hours upon hours in Crystal Reports trying to get a report to look exactly right. Fortunately you won’t have to do that with Silverlight 4; you can simply create two views with the same DataContext (think MVVM) and create two separate UI’s (one for to display and one to print).
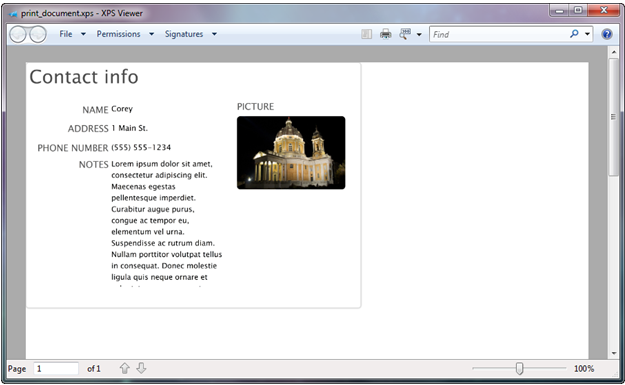
Taking the above UI and adding TextBlocks as well as TextBoxes you can create a printer friendly page. Instead of showing lengthy Xaml, here’s how the UI looks in Blend.
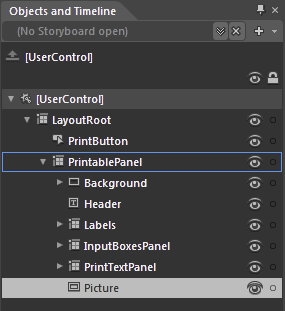
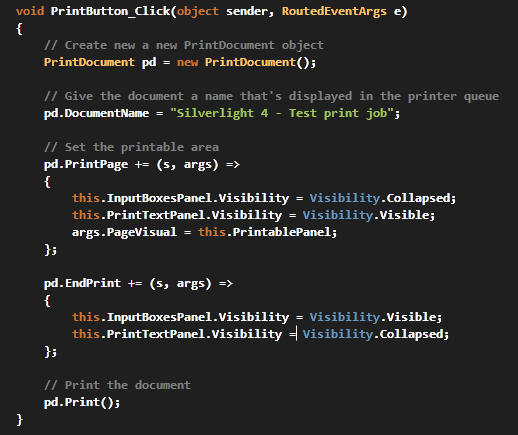
When the UI is rendered the Visibility of PrintTextPanel is set to Collapsed and InputBoxesPanel is Visible. The code needs to be modified to toggle the visibility when printed. In the modified code below, take note that the in PrintPage the visibility of the Panels are toggled, and an EndPrint event is registered to toggle the visibility back.
void PrintButton_Click(object sender, RoutedEventArgs e)
{
// Create new a new PrintDocument object
PrintDocument pd = new PrintDocument();
// Give the document a name that's displayed in the printer queue
pd.DocumentName = "Silverlight 4 - Test print job";
// Set the printable area
pd.PrintPage += (s, args) =>
{
this.InputBoxesPanel.Visibility = Visibility.Collapsed;
this.PrintTextPanel.Visibility = Visibility.Visible;
args.PageVisual = this.PrintablePanel;
};
pd.EndPrint += (s, args) =>
{
this.InputBoxesPanel.Visibility = Visibility.Visible;
this.PrintTextPanel.Visibility = Visibility.Collapsed;
};
// Print the document
pd.Print();
}
Finally, the document is printed without a background and without TextBlocks.
